Portland Fashion Institute prepares for graduate show at new headquarters
Some up-and-coming designers are preparing to show off their work at the Portland Fashion Institute’s Graduate Fashion Show next month. By FOX 12 Staff Published:
Some up-and-coming designers are preparing to show off their work at the Portland Fashion Institute’s Graduate Fashion Show next month. By FOX 12 Staff Published:
Portland Fashion Institute offers classes on ancient technique PORTLAND, Ore. (KOIN) — reported by Jenny Hanssen A batik fabric at the Portland Fashion Institute made
Why can’t we get what we want? Sometimes you have to do it yourself. The question: How do you get started? The answer: Ask the
Our holiday gift was an interview with Aaron Settlemier. For 3 generations, his family has made quality varsity jackets right here in Portland. He

By Demi Lawrence Staff Reporter, Portland Business Journal As demand for apparel and textile classes increases, Portland Fashion Institute plans to use new technology in
MICHAEL KORS SAID IT BECAUSE IT IS TRUE. But if you have a unquenchable passion for fashion, if you are ready to get into the apparel
Written by Faith Karimi, CNN Pantone has spoken. The color that will shape the year ahead is — drum roll, please — Viva Magenta. The
Let’s make 2023 the year your fashion dreams come true. Allizah C says: “My experience at PFI prepared me and fulfilled my education needs in
You can bring life to your ideas & tell your story. Share your ideas the way it’s done in the industry: visually. From fashion illustration
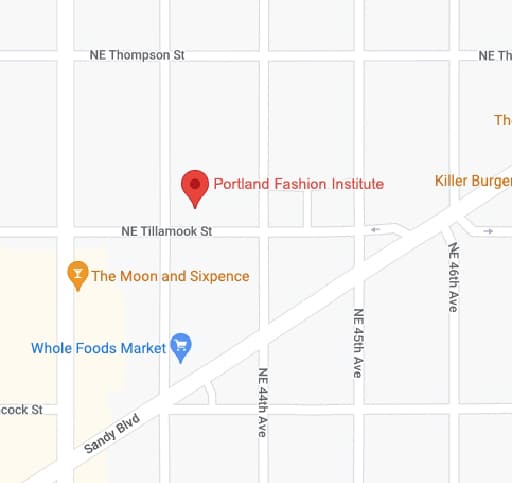
PFI Supply is moving — just across the street into our new building. That means bargains for you while we pack up. PFI Supply