Is it Summer? Do you want to finish that hem so you can wear that dress? Check out these 12 hems in a hurry for any garment. Then sign up for a sewing class so you can perfect that technique for your own clothes.
 Hems are one of your final touches – whether on the sleeve or body of the garment. They are also one of the things you hurry through so you can wear the garment. Why leave hem choice to chance? After spending so much time cutting and sewing, why ruin a garment by choosing the wrong one?
When in doubt, I pull down my brief dictionary of hem finishes. These are samples I’ve sewn to show me how a hem will look and behave on a variety of fabrics.
For you, I’ve chosen 12 of the most reliable. I’ll show you how to make them and how to choose the right one for your garment.
THREE BY MACHINE: Use these on straight or slightly curved hems for woven fabrics when you don’t mind seeing a stitch line – or can turn it into a design element
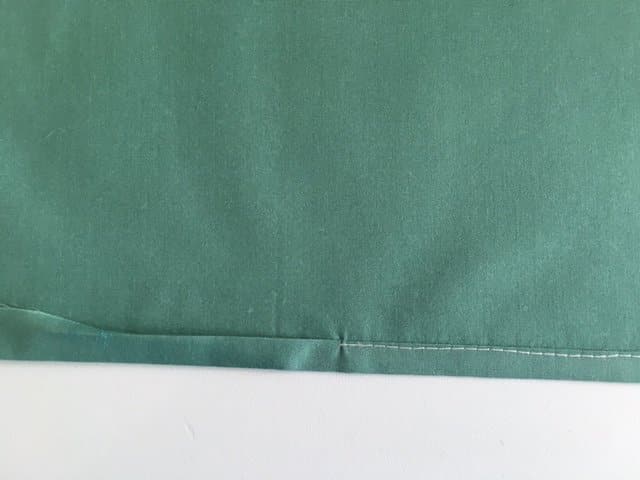
- Double turn. Allow for turn of cloth; e.g., hem allowance for shirts = ½” while hem allowance for jeans = 1¼”. Press up full hem allowance then tuck under the raw edge. This creates a straighter hem. Tip for shirts: Spray hem with starch and let dry before pressing.
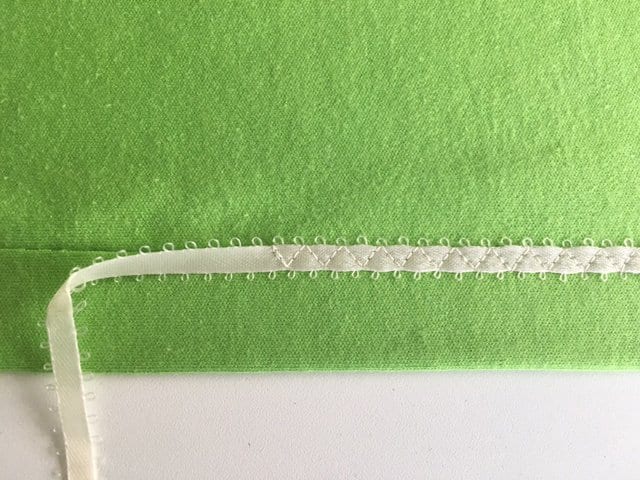
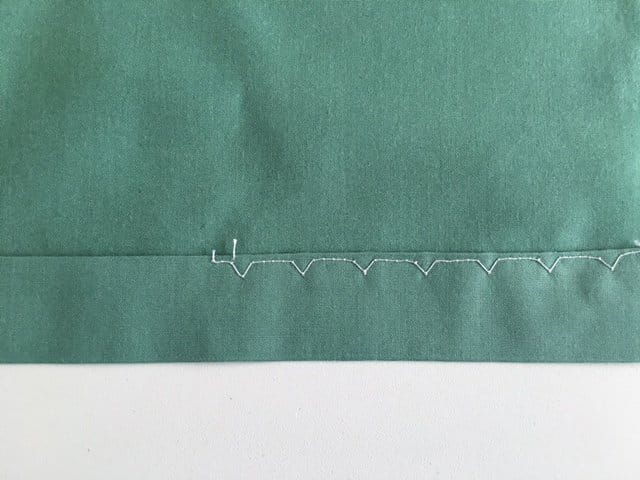
- Press up a ¼” hem to the right side. Cover with lace or ribbon, ¼” or wider. Three-step zigzag (aka “elastic stitch”) in place.
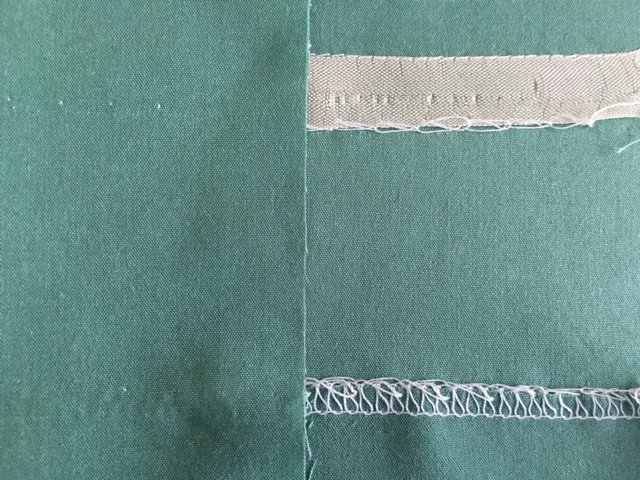
- This is best on transparent fabrics as an alternative to the rolled hem. Run a straight stitch 1/8” parallel into the hem allowance. For example, if your hem allowance is 1” away from the raw edge, sew your stitch at 7/8” away from the raw edge.
Fold on the stitch line to the wrong side of the garment and edgestitch. Use appliqué scissors to trim to the edgestitching as closely and evenly as possible. Fold the edge to the wrong side again. With the wrong side up, stitch on top of the first stitching. Overlap your beginning stitches with your ending stitches. Do not backstitch.
FYI: There’s a fourth machine hem: The blindhem. This is a popular finish for pants. But most blindhem feet have a plastic gauge that gives an uneven stitch. Here’s how to conquer your blindhem woes.
Press up the hem allowance then press under the raw edge by ¼”. Press the garment back exposing the hem an even 1/8”. Use a metal edgestitch foot. Set a stitch width of 3.5 and length of 2.5. By pressing and using a metal foot, you’ll keep the stitches even.
Why are blindhems on ready-to-wear pants so clean? Industrial machines stitch hems in the flat – no folding needed. The hem edge is serged with a narrow stitch or covered with hem tape. The hem is pressed up and placed on the machine bed, hem side up. A curved needle grabs a small bite of both the garment then the hem. Bite depth and stitch length change to match the thickness of fabric. Manufacturers routinely use invisible polyester monofilament thread.
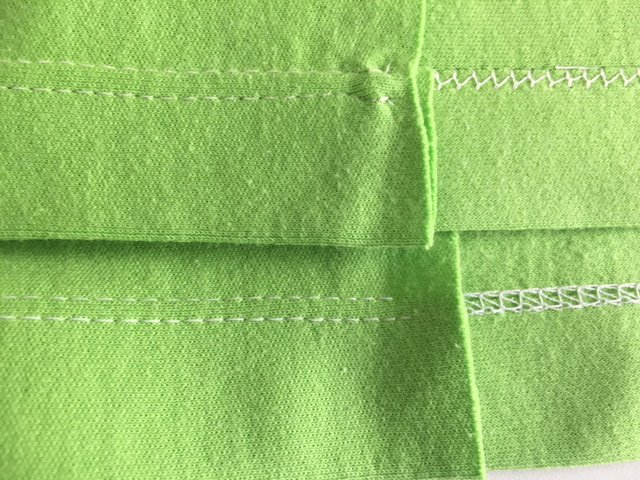
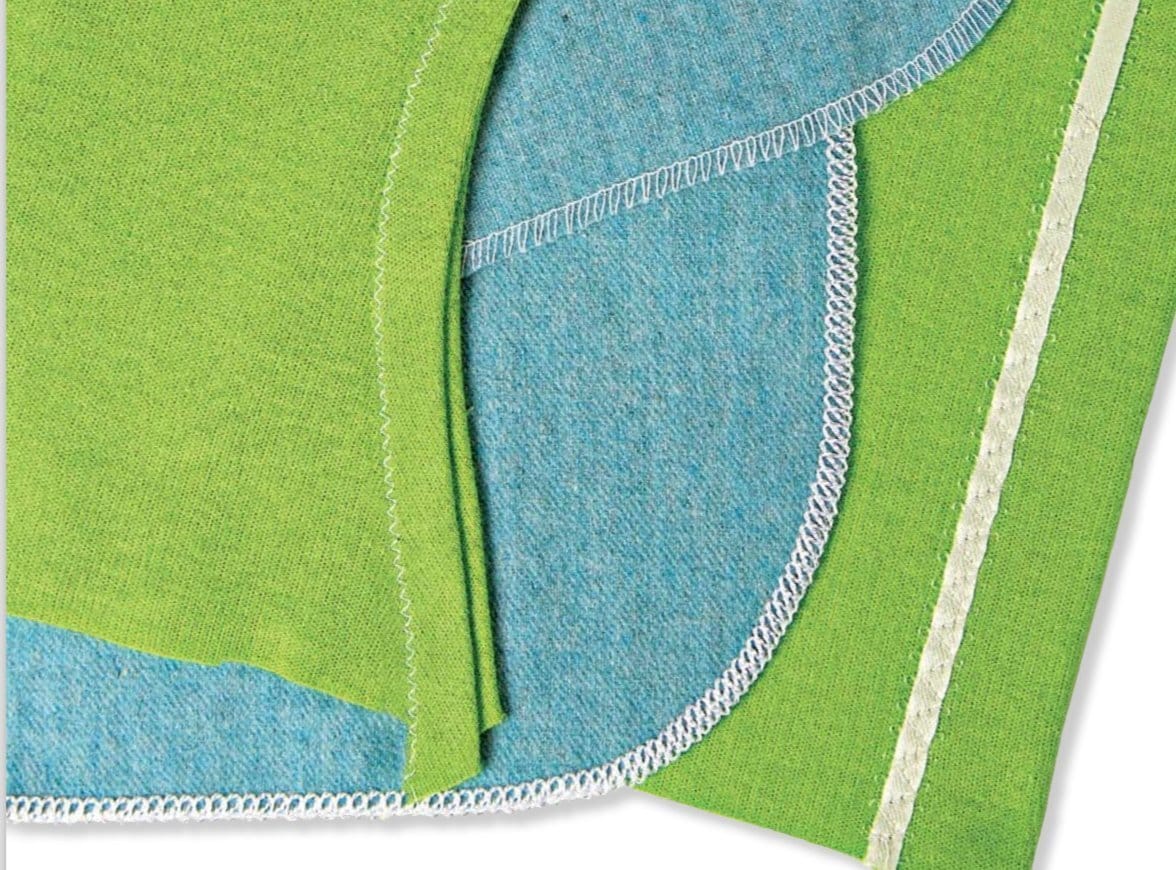
THREE BY SERGER. Use these on wovens or knits when you want the stitch line to be part of the look of the garment.
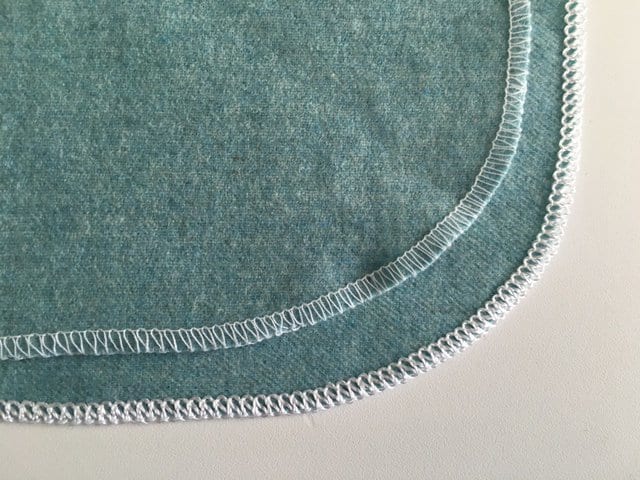
- Also called an overedge, it is used for wovens. It’s particularly attractive on wools. Cut corners into curves. Set up your machine for 2-thread serging. Don’t have 2-thread? Use 3-thread and run Pearl Crown Rayon in the upper looper. This is an easy hem for a fleece blanket for a football game or baby shower.
- Also called a serger rolled edge. Remember to “feed the knife.” When merrowing soft transparent fabrics such as chiffon, set the machine for the widest rolled edge possible, disengage the knife and guide the fabric’s raw edge to the inside edge of the presser foot. On knits, change the differential feed. Use higher numbers to keep the edge flat. Use lower numbers to make a lettuce edge.
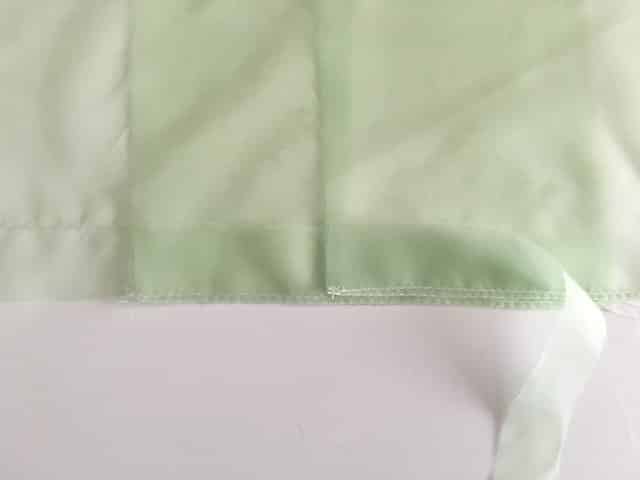
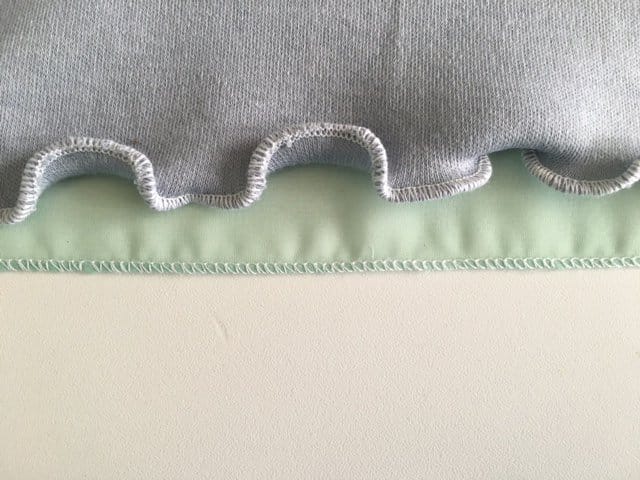
- Standard finish for a knit hems. Press up ½” or 1” hem. Stabilize with a ¼”-wide strip of fusible web. Coverstitch from the right side with two needles. Don’t have a serger? Use a 3.0 mm stretch twin needle on your sewing machine.
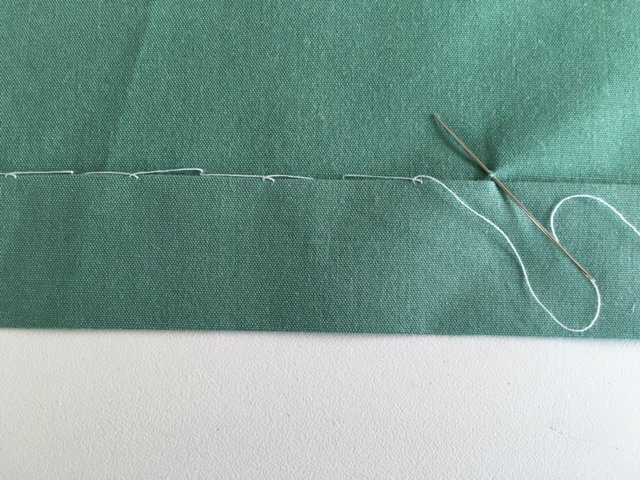
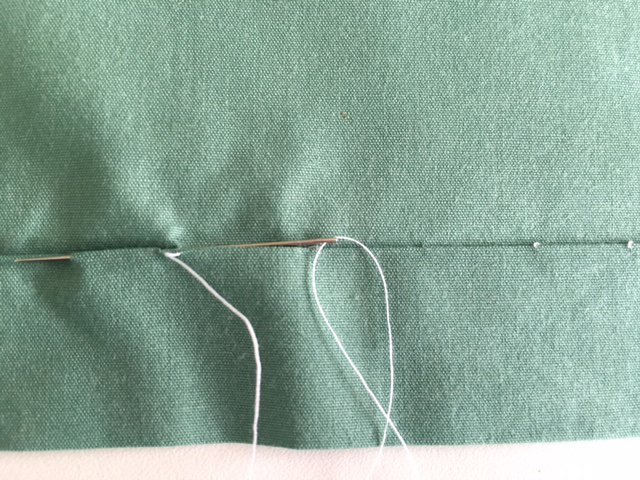
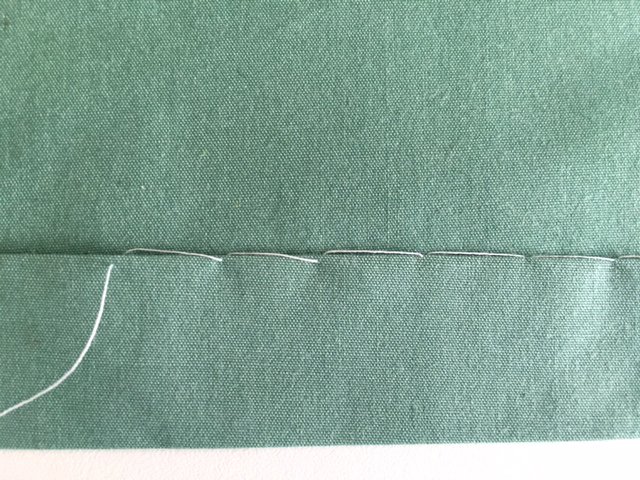
THREE BY HAND – Use these stitches on the straight hems of finer garments when you absolutely do not want see a stitch line. For all, press up the hem allowance 1¼”. Press under the raw hem edge ¼”. Use a single thread in a size 8 or 10 Sharps needle.
- Work from left to right (or right to left if you are left-handed!). Catch a small stitch on the top of the hem allowance then pick a small bite of the garment about ½” to the right. Your stitches will create a series of “Xs”.
- Work from right to left as above. Stitch inside the fold, out of sight, for about ½”. Come out to catch a small bite from the garment. Go back into the same hole in the fold. Continue.
- Position the hem vertically. Pick up a small bite on the hem allowance then pick a small bite of the garment about 1/2” up. Repeat, alternating between the hem and the garment to create a series of diagonal lines.
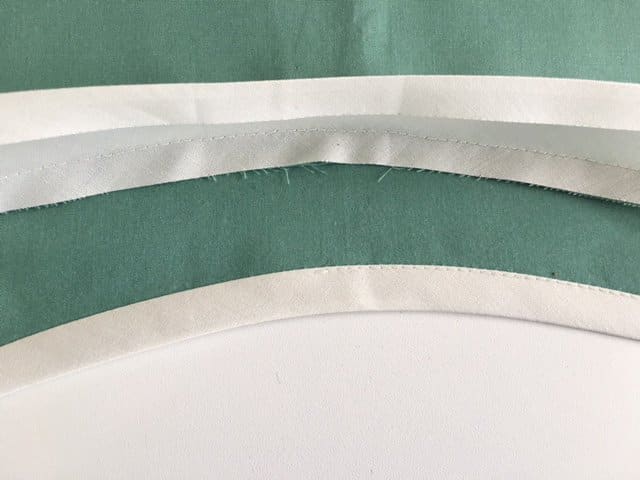
THREE ON THE BIAS – Use these finishes on curved hems that won’t turn up without puckering.
- Use on wovens. Cut or buy 2″-wide bias strips of tightly woven but thin fabric such as cotton broadcloth. Piece them together to match the length of your hem length plus 2”.
Machine stitch the strip to the bottom edge of the garment. Leave the first 1” of the strip unstitched. Start sewing ½” from a side seam. Finish by matching the beginning and ending of the strip so it is the same length as the bottom edge. Place right sides together matching raw edges. Stitch and trim excess. For a better look, place right sides together with one end of the strip at a 90°angle. Stitch on the bias. Finish sewing the strip to the bottom edge.
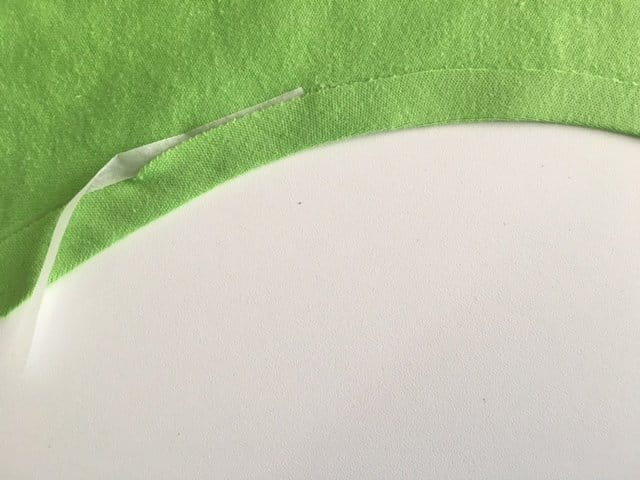
Press seam allowances toward the facing. Understitch. Press the facing inside with 1/8” of fashion fabric showing beyond the bias strip at the hem edge.
Press the raw upper edge of the facing under by ½”. Attach the facing to the garment with a loose row of hand stitches.
- Use on knits. Press under ½”. Insert a ¼”-wide strip of fusible web under the raw hem edge. Fuse. TIP: To copy the look of ready to wear, finish from the right side with a zigzag stitch, 1.5 stitch length, 1.5 stitch width.
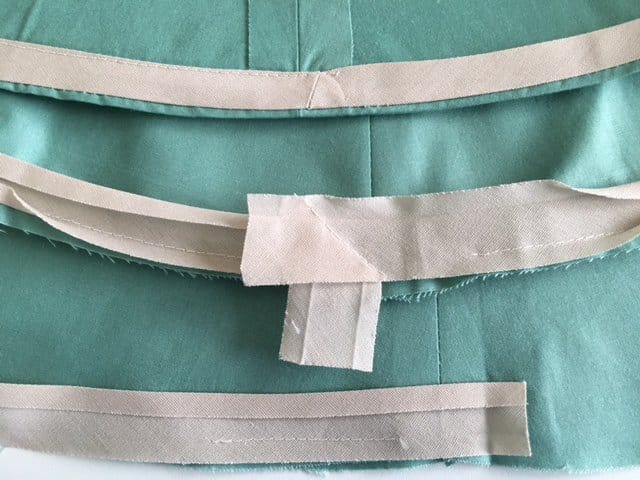
- Use this on heavier fabrics. For wovens, use woven bias strips. For knits, use crossgrain strips of knit.
For wovens, cut strips 1-3/4” wide by the length of the hem. Press under one long edge 3/8”. Place the right side of the unpressed edge of the bias strip against the wrong side of the fabric, raw edges together. Stitch a 3/8”-wide seam allowance. Press the seam allowances toward the strip. Don’t “unpress” your previous pressing!
Wrap the strip around the raw edge of the fabric to the right side of the fabric. Line up the previously pressed edge of the strip so matches the stitch line. Edgestitch the bias strip from the right side.
For knits, cut strips 2” wide by the length of the hem. Place to the garment, right sides together. Sew a ½” seam allowance. Wrap the binding over the seam allowance to the wrong side. On the right side, stitch in the ditch or edgestitch the fold or zigzag across the fold. Trim excess binding close to stitching line on wrong side.
Want more? Try our Beginning Sewing, Apparel Construction or Splendid Mending classes. Like our Instagram page for sewing tips.
———
Sharon Blair owns and directs Portland Fashion Institute in northeast Portland. PFI’s 24 instructors work in the apparel industry and teach classes from sewing to design to patternmaking to business. Look for PFI’s line of patterns and ready-to-wear at PFI_Supply and Fade to Light Fashion Show.